When we last talked Indigo I was wondering why my native indigo fermentation vat had carked it.
Since then I have been testing out a few theories and approaches in the hope that I could get a local vat recipe that was more reliable. This kind of vat is worth the effort, as it is devoid of harsh chemicals and can be disposed of safely.
I was very lucky to have the help of two very useful people in this mission, Trudi Pollard, of local natural dyeing studio Pollard Designs, and Tracey from One Thing at a Time, whose chemistry brain has been invaluable.
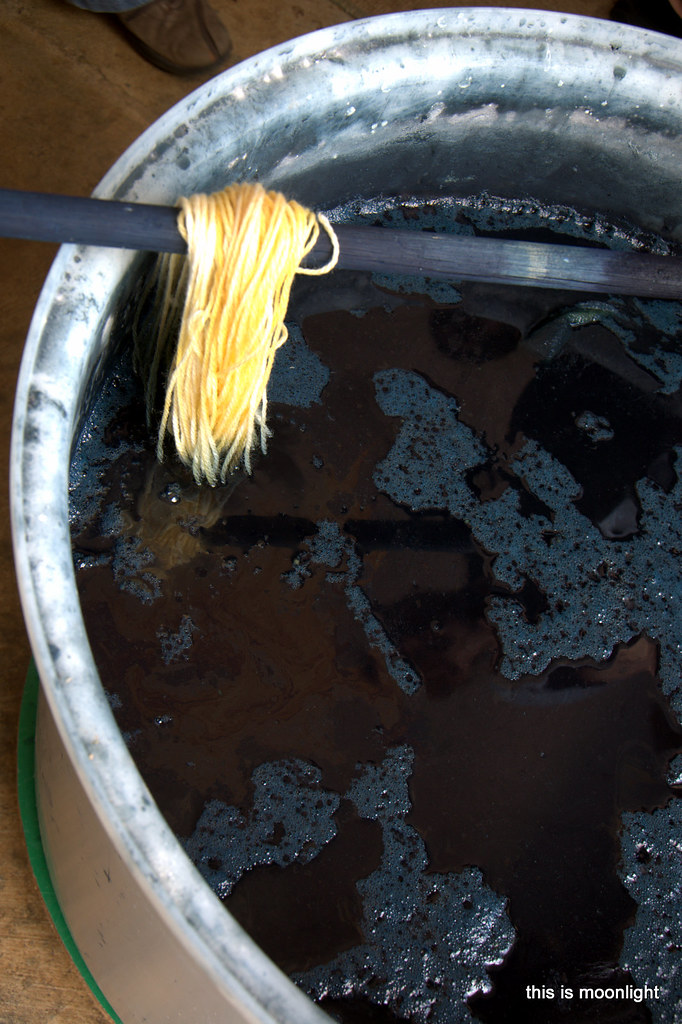
We tried the honey lime recipe on all the indigo varieties we could get our hands on:
- French indigo powder
- Japanese Powdered
- Japanese slurry ryukyu
- Dried local Japanese indigo leaves
- Dried native indigo or indigofera australis
- Organic powder from Kraft Kolour
Fermentation vats are no difficult to set up but do take a little patience to get right for your local area and products. So far, the 1-2-3 ratio has not worked for me, but I have used that as a starting point for considering potential quantities.
Local Water Quality
Here in Perth our mains water can vary greatly in composition season to season, so to avoid this we used rainwater. That said, even the rainwater used varied from a pH of 5 to a pH of 8 from different tanks. The lesson here is to test your water pH first and foremost.
Sourcing Lime
If you are looking to source lime for an indigo vat, you need to find calcium hydroxide or Ca(OH)2. Most lime products on the market are for building and may contain a combination of calcium carbonate and surfactants, neither of which you want in your vat. Go straight to a chemical supplier and ask for the Materials Safety Data Sheet (MSDS) , and ask specifically about surfactants.
The lime I would recommend for Perth is from Lime Industries, 43 Hector St, Osborne Park. The lime putty or the envirolime will work in an indigo vat, and are wholly WA made.
Lime Solubility
Be aware that the form of your lime will lead to it reacting different in your vat. We sourced a liquid form of lime called lime putty, and it needed a lot less lime for the same result in comparison to powder. Pellets again will be a different story.
Indigo Forms
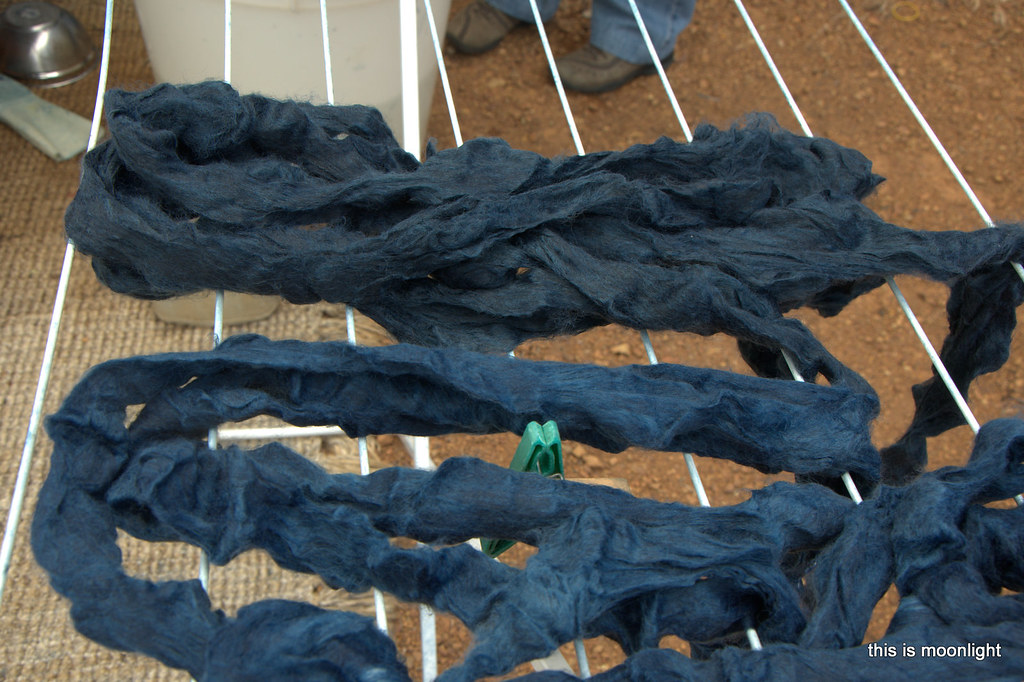
Indigo can be fermented fresh, dried, powdered or from a slurry. Typical recipes are for powdered indigo so do not be afraid to increase the amounts for other types of indigo accordingly. Other forms of indigo may also need 4-10 days to ferment so allow your vat time to mature.

Honey
I chose honey as a base for my vat, which, whilst more expensive, was more predictable in behaviour. That said, even honey can vary in pH widely depending on the location of the hive, the pollen and the time of the year. Given this, fermented fruit may not be as bad as I thought!
Balancing the Vat
The ultimate aim is to balance the vat using your honey and lime to get to a pH of between 9-11. Depending on your starting pH and what you are adding in, your quantities can vary widely. So my number one piece of advice is to take it slow, and test at each stage. I think stopping when the pH reaches 9 and waiting half an hour is a good approach too.

Fold in the Egg Whites
Tracey suggests that you use a method similar to folding batter into egg whites when adding the lime. Take a little out of the vat, dilute the lime mixture, slowly add it back in.
Start out Small
Making a small trial vat wont hurt anyone, and if you get it right, you can add it to a large vat later. Because, after all, indigo is liquid gold.
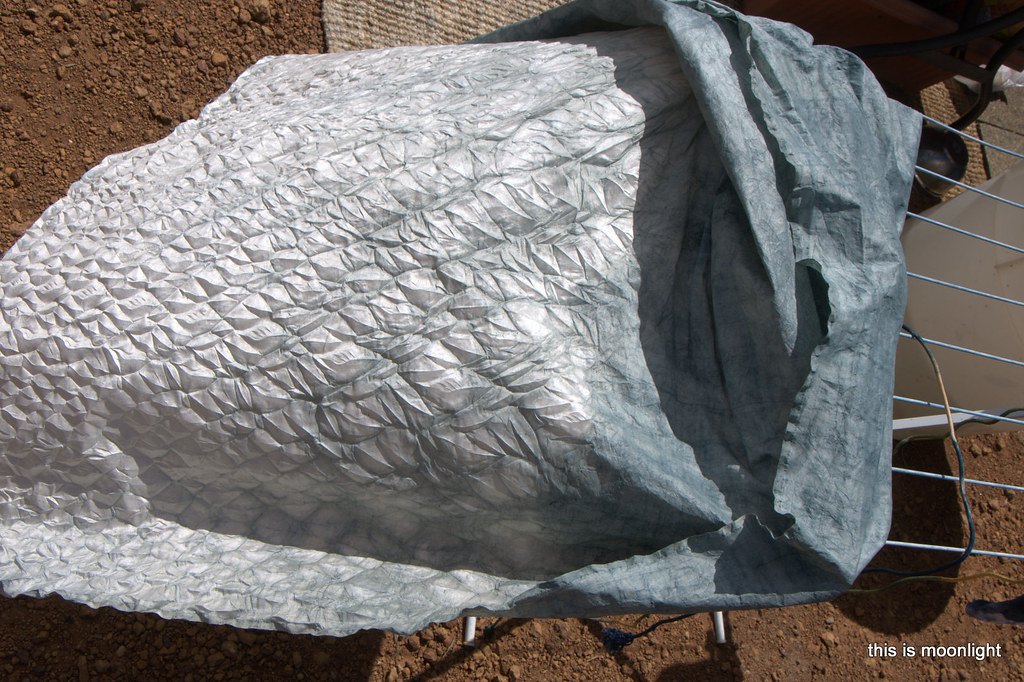
If you have never used indigo, I hope the pretty pictures entice you a little!
Has anyone else got any top tips for making a fermentation vat? Did you have similar problems pop up or widely different?


Wow – fascinating. Want to add this to the list of things I want to try.
Plenty of wonderful courses around these days too!
This is so very useful – I’ve been putting off using my little pack of indigo since I got it nearly a year ago! I guess I got waylaid with dyes from my garden – but now I have tons of on the job advice. I think I should probably still wait until the weather gets warmer here though…
Yeah, warm weather makes it a lot easier! You don’t have to cuddle it every night. He he. How is your outfit coming along?
There really is an art to Indigo I never new. I would love to see PTP’s wool dyed in this. XS
I am sure you can! If you are thinking larger scale have a chat to Trudi.
My nerdy heart is made happy with the talk of trial and adjustments in this post 🙂
awesome resource Nikki! – Thanks so much for summarising it all for us.
Peeps, if you have any chemistry questions I’m happy to help out. Contact via Nikki or via my blog (which is a little empty these days but will soon be filled with good things)
Oh yes, tell me if you want me to link you up to the blog or instagram! Glad you like the final format.
Really interesting. I’m doing a lot of solar dyeing using garden plants so maybe I should add woad to my dye plants
Woad is also good with this method I hear. Not that I have tried it yet!
So interesting and inspiring.Maybe you could start up a northern suburbs natural dyeing group when you get here 😉
I’m a bit sad all my local knowledge is going to be out the window. Le sigh…but then again, you probably have a hive on your roof right 😜 and surely someone else can find us local lime!
This is extremely useful information, very helpful. Thanks so much for sharing! 🙂
Glad it makes sense!
Pingback: Rosalea the Alpaca | this is moonlight
Pingback: #1year1outfit Rosalea the Alpaca | this is moonlight
Juhu, Nikki, thank you so much for sharing your experiences. I have to confess that i will start my first all natural indigo vat today. Since I moved to the country i do not want to use the harsh chemicals anymore. And there are no grocery stores near by, but a beekeeper. So honey it is!
Pingback: #1year1outfit West Australian Coatigan | this is moonlight
Thanks for this article – particularly useful insight into sourcing Lime. I’m just starting out with the fermentation vat. Silly me got a bit excited, I rushed out & purchased the wrong lime – I got Calcium Carbonate not Hydroxide. I only realised this after I made my vat & no reaction took place. I’ve since added Calcium Hydroxide as I thought it wouldn’t hurt to add it & see what happens before I turf the vat. Any thoughts would be appreciated, I never paid attention in chemistry.
Guess what, I made exactly the same error! You probably need to start again now I’m sorry to say.